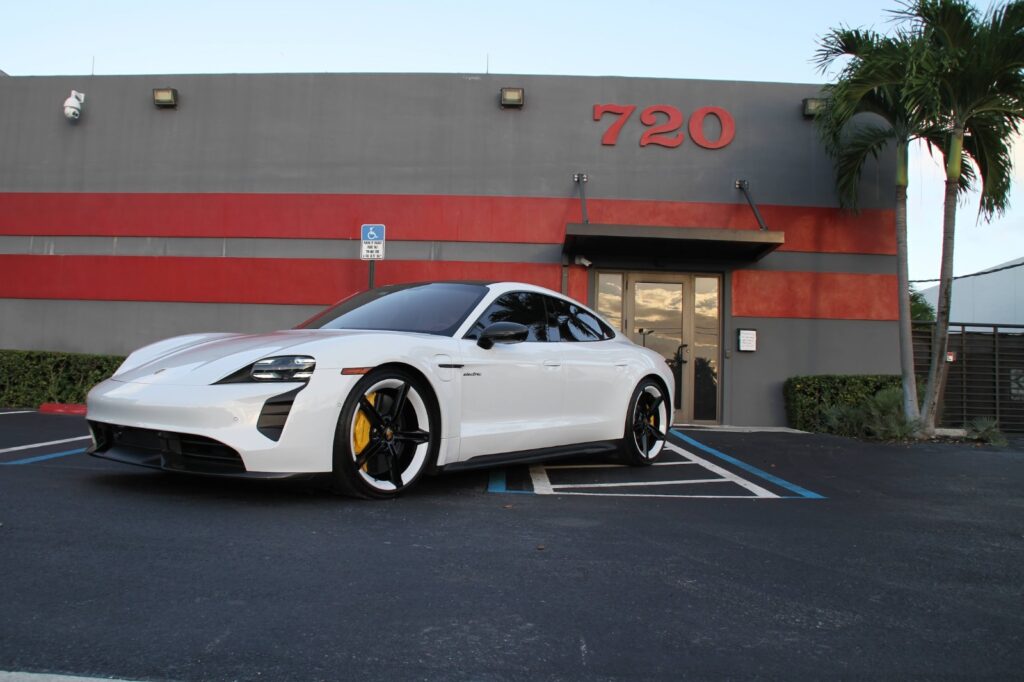
Car window tinting provides multiple benefits because it both enhances appearance and functions as a heat and glare blocker while ensuring privacy in the driving environment. If you’re thinking of how to tint car windows, this guide will provide you with everything you need to know. Let’s get started!
Why You Should Tint Car Windows
- More privacy & security: Darker tints make it harder to look in and also reinforce the glass to reduce it from shattering and breaking
- Blocks UV rays & protects the interior: Extended exposure to sunlight causes car interiors to both fade away and develop cracks. A good tint will block as much as 99% of UV rays and keep it looking its best while protecting your skin.
- Keeps your car cooler: Infrared heat is blocked by tinted windows, so you don’t have to endure blistering hot seats or need AC as often.
- Saves fuel & improves efficiency: When your car stays cooler, you won’t need to blast the AC as much, which saves gas and helps your car run more efficiently
Getting Ready To Tint Your Windows
Before you start tinting, preparation is key to getting the best results.
- Check legal tint limits: Laws on tint darkness vary by location. If it’s too dark, you could be fined or forced to remove it, so always check local regulations first.
- Choose the right tint: There are many tints available for you to apply. Take some time to research and figure out which tint works best for your car.
- Gather your tools: Tint film, a squeegee to remove air bubbles, a heat gun to fit tint on curved windows, application solution for positioning the film, and microfiber cloths to clean the glass

How To Tint Car Windows—Step-by-Step Process
Tinting looks easy but getting it right takes patience and technique. Let’s go through these 5 simple steps.
Step 1 – Clean The Windows
Start with completely cleaning the windows. Use a lint-free cloth and a tint-safe cleaner to thoroughly clean the windows. Even the smallest dust or grease can cause bubbles.
Step 2 – Cut And Size The Tint Film
Position the tint film on the outside of the window and trim it slightly larger than the glass. A utility knife should be used to trim the edges while maintaining some added space for final adjustments.
Step 3 – Apply The Tint Without Bubbles
Spray the inside of the window with an application solution to help position the film. Put the tint film onto the glass surface by carefully removing its backing. Using a squeegee, press from the center outward to remove any trapped air bubbles.
Step 4 – Use A Heat Gun For A Secure Fit
For curved windows, a heat gun helps the film conform smoothly. Hold it a few inches away and move it evenly while using the squeegee to eliminate wrinkles.
Step 5 – Let It Dry
Let the tint cure for 48–72 hours before using the windows. This ensures the adhesive layer sets firmly, preventing bubbles, peeling, or shifting over time.

Even with the right steps, small mistakes can mess up your tint. Here’s how to avoid them:
- Take your time: Rushing can cause bubbles and creases. When using the squeegee, you should be more patient.
- Work in a dust-free space: A tiny bit of dust can mess up your tint job. Try to find a dust-free spot before you start.
- Use the right amount of solution: Too much makes the film slide around, too little makes it hard to adjust.
- Check for bubbles after 24–48 hours: If you see any appear, gently press them out with a squeegee.
- Wait before cleaning your windows: Give your tint a few days to cure before cleaning the windows. This helps prevent peeling or damage.
- Follow tint laws: Check your local regulations first as no one wants to get fined or be forced to remove the tint later.
- Consider a professional: If you’re unsure about DIY installation, an expert tinting service can guarantee a perfect finish.
Don’ts – Common Mistakes To Avoid
- Don’t exceed legal tint limits: Always check your area’s regulations before tinting.
- Don’t roll down windows too soon: Give it at least 72 hours to fully dry.
- Don’t clean the windows right away: Wait about a week before washing to prevent peeling.
Get The Best Window Tint Services Near Me Today!
DIY tinting is doable, but it’s easier to end up with bubbles, peeling, or an uneven finish. Why not get professional results the first time with Advanced Detailing Sofla instead of struggling? The expert installation methods combined with premium tint films deliver smooth perfection for car finishes that last long term while avoiding wrinkles or bubbles. Book your Window Tinting Service now!
FAQs
A professional window tint job usually takes about 1 to 2 hours. Home applications require between 2 and 4 hours for completion, according to your proficiency as an amateur tint installer.
You should wait for approximately a week to wash your vehicle. This will allow the tint film to cure properly and adhere well
Smooth the little bubbles with a squeegee and a heat gun. But if they’re still hanging around after the film’s cured, you might need to have the tint redone.
DIY tinting costs $50-$200, while professional installation ranges from $150-$600. The price depends on the tint type and vehicle size.
Regular cleaning of window tint requires the use of products that are light and safe for the tint. Avoid placing objects with pointed edges next to windows while parking your car in shade because it protects the tint from fading.
